Introduction
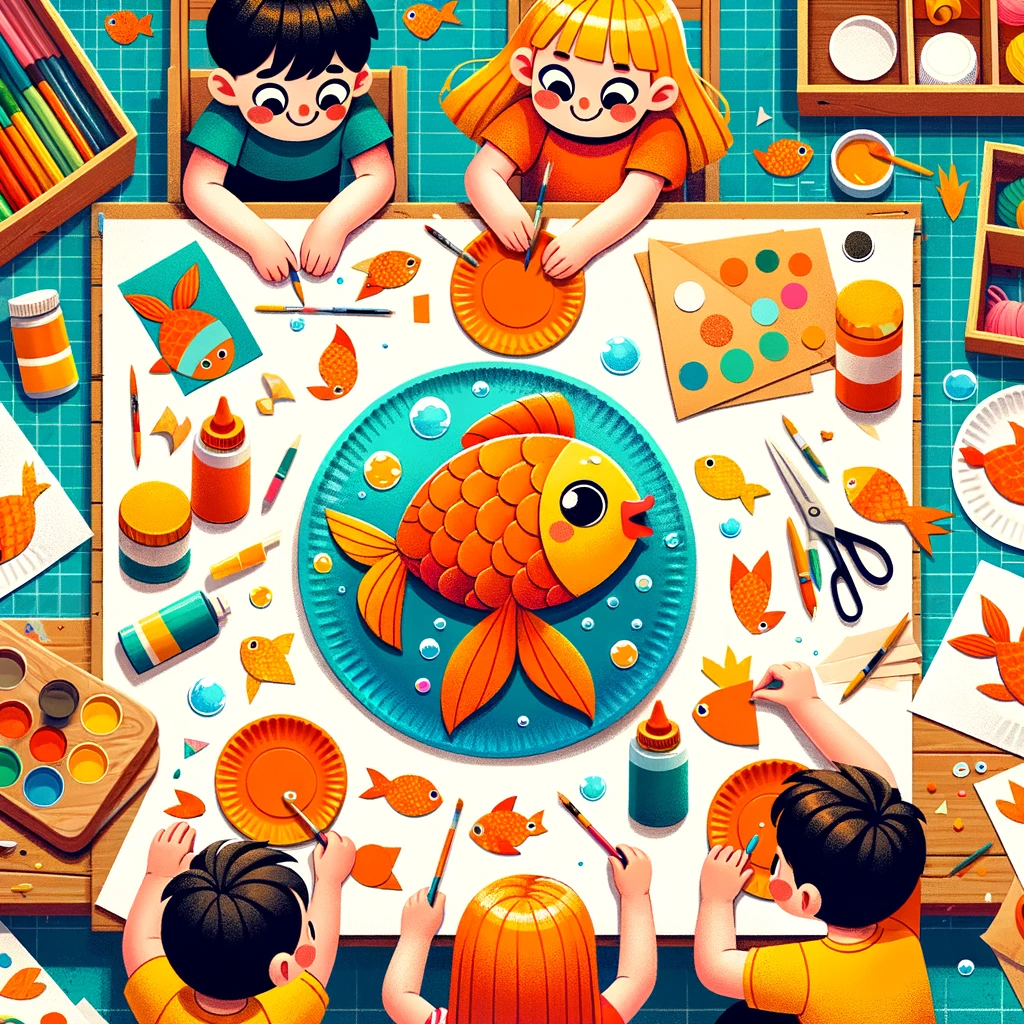
Hey there, crafty kids and creative parents! Are you ready to swim into a sea of imagination and fun? The Paper Plate Goldfish Craft is here to make a splash in your crafting world. This simple, yet incredibly fun activity is not just a great way to spend an afternoon, but it’s also a fantastic opportunity to learn a bit about these fascinating creatures of the deep. So, grab a paper plate, and let’s dive into the ocean of creativity!
Why the Paper Plate Goldfish Craft?
- Easy and Accessible: Uses simple materials you probably have lying around.
- Educational: A great chance to learn about goldfish and marine life.
- Boosts Creativity: Perfect for kids to express their artistic side.
Setting the Scene: What You’ll Need
Before we start our underwater adventure, let’s make sure we have all our crafting gear ready. The beauty of the Paper Plate Goldfish Craft is that it requires basic supplies, making it a breeze to set up.
Essential Supplies:
- Paper plates
- Orange paint
- Paintbrushes
- Construction paper (preferably orange, white, and black)
- Scissors
- Glue
Crafting Your Goldfish: A Step-by-Step Guide
Alright, let’s get our fins moving and start crafting! Follow these simple steps, and you’ll have a cute paper plate goldfish in no time.
Creating Your Underwater Friend:
- Paint the Plate: Begin by painting the paper plate orange. This will be the body of your goldfish. Let it dry completely.
- Cut the Features: While the paint dries, cut out fins and a tail from the orange construction paper. Don’t forget to cut out small white circles and smaller black circles for the eyes.
- Assemble the Goldfish: Once the plate is dry, glue the fins and tail to the plate. Then, glue the black circles onto the white ones to complete the eyes, and attach them to your fish.
- Add Details: For a finishing touch, you can add a smile or other details with a marker or some extra paper.
Personalizing Your Paper Plate Goldfish
No two fish in the sea are exactly alike, and the same goes for your paper plate goldfish! Here’s where you can let your creativity shine.
Ideas for Making It Unique:
- Experiment with Colors: Who says your goldfish has to be orange? Feel free to explore different colors.
- Add Texture: Use materials like tissue paper, felt, or foam sheets to give your goldfish a unique feel.
- Create a Scene: Why not make an entire underwater scene? Add seaweed, coral, or even other sea creatures.
Learning Through Crafting: Fun Goldfish Facts
Crafting is always more fun when you toss in some learning. Here are some fun facts about goldfish to share with your little crafters as they work on their projects.
Did You Know?
- Goldfish have a memory span of about three months.
- They can recognize different humans.
- Goldfish don’t have stomachs and should be fed easily digestible food.
FAQs
Q: Is this craft suitable for all ages? A: Absolutely! The Paper Plate Goldfish Craft is perfect for a wide range of ages. Younger kids might need some help with cutting and gluing, though.
Q: Can I use a different type of paint? A: Sure thing! Feel free to use whatever paint you have on hand. Acrylic, tempera, or even watercolor paints will work.
Q: How long does it take to make one paper plate goldfish? A: It usually takes about 30 minutes to an hour, depending on how much detail and personalization you add.
Q: Can this craft be part of a larger educational theme? A: Definitely! It’s a great addition to lessons about marine life, animal habitats, or even color theory.
Q: How can I display the finished goldfish? A: You can hang them up on a wall, stick them to the fridge, or even string them together to make a school of fish.
Add Comment